Watercolor Painting - ‘Dawn in the Woods’
When it comes to watercolors there is no such thing as "too many tricks or techniques". This Forest watercolor painting shows us how to use the 1) wet-on-wet 2)Blending and 3)Layering techniques. Fun and easy forest painting, perfect to try out on a lazy Sunday or a mundane Monday.
Hope you enjoy it!
Catch the watercolor painting in action:
Step 1: Wet the whole paper with water

Before you even start painting, you need to set up your watercolor and paper. The first step will be to get your paints ready in the palette. We will only be using shades of yellow, brown, and dusk orange for this painting. With watercolor, you can change the opacity of the paint with the amount of water you use. In the palette, you can mix three different shades of each color by adding more water for the lightest shade, and less for the darker shades. To set up your paper, tape it down on each side of the board. Now you are ready to start painting.
We are going to use the wet-on-wet technique here. To do so, use your flat wash brush to wet the entire paper with water first. It should have an even shine of water throughout the paper.
Step 2: Making the Sun Rays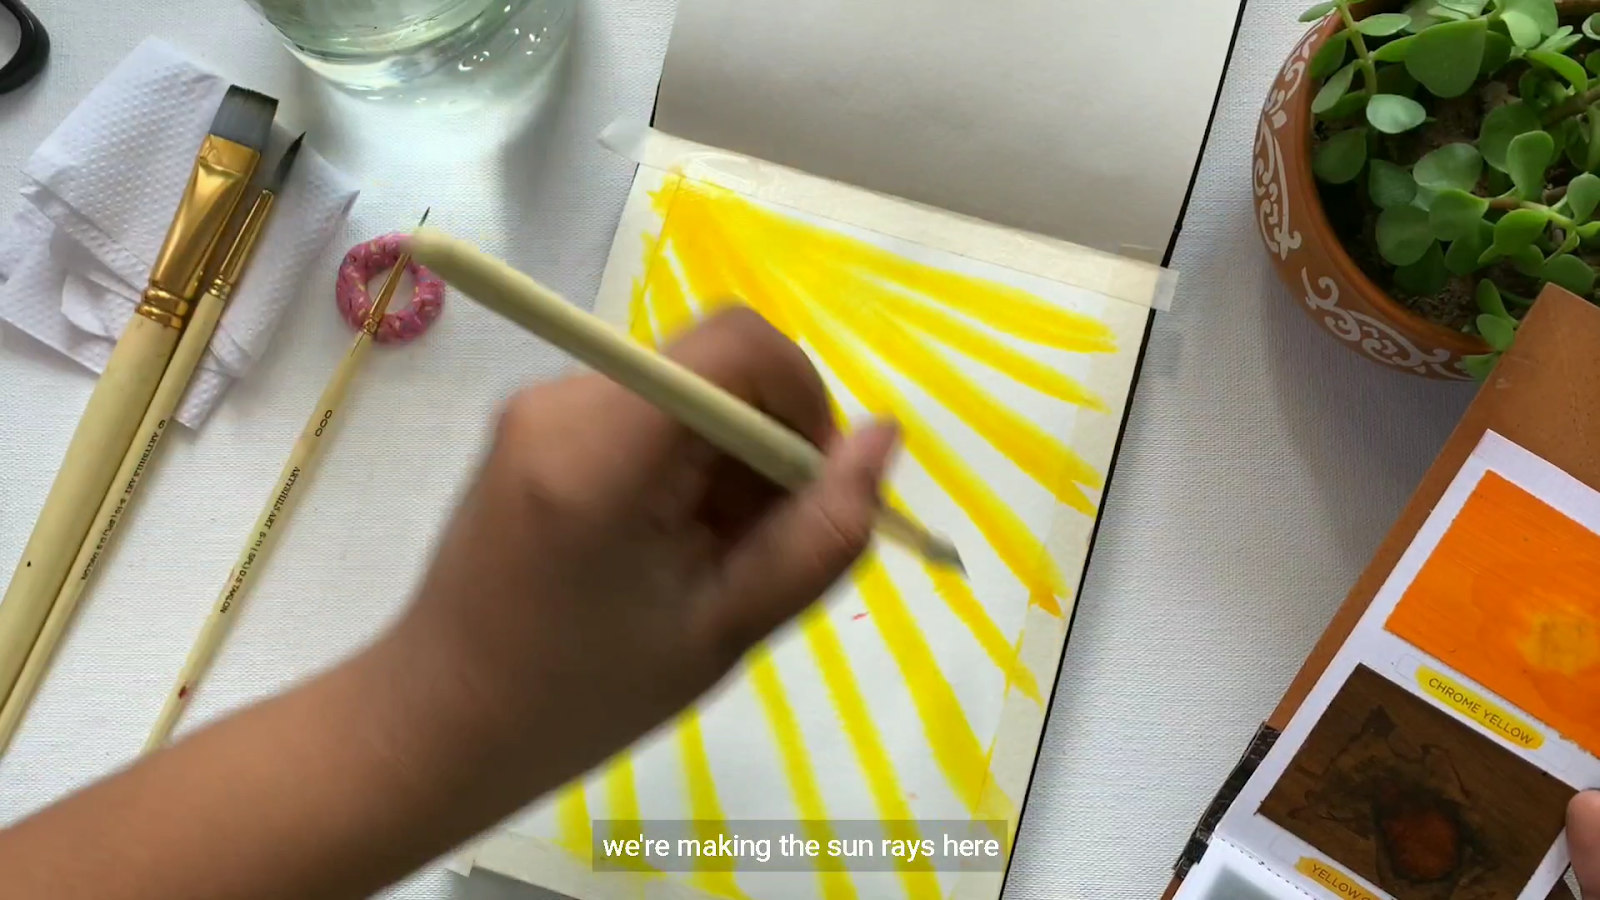
While the page is wet, draw diagonal lines from the top left corner. Here I have used ‘Chrome Yellow’ as I love the slight warmth it gives out. You can use any shade of yellow you like. We’re making the sun rays here to show dawn in the woods.
Step 3: Blend the Chrome and the Ochre lines
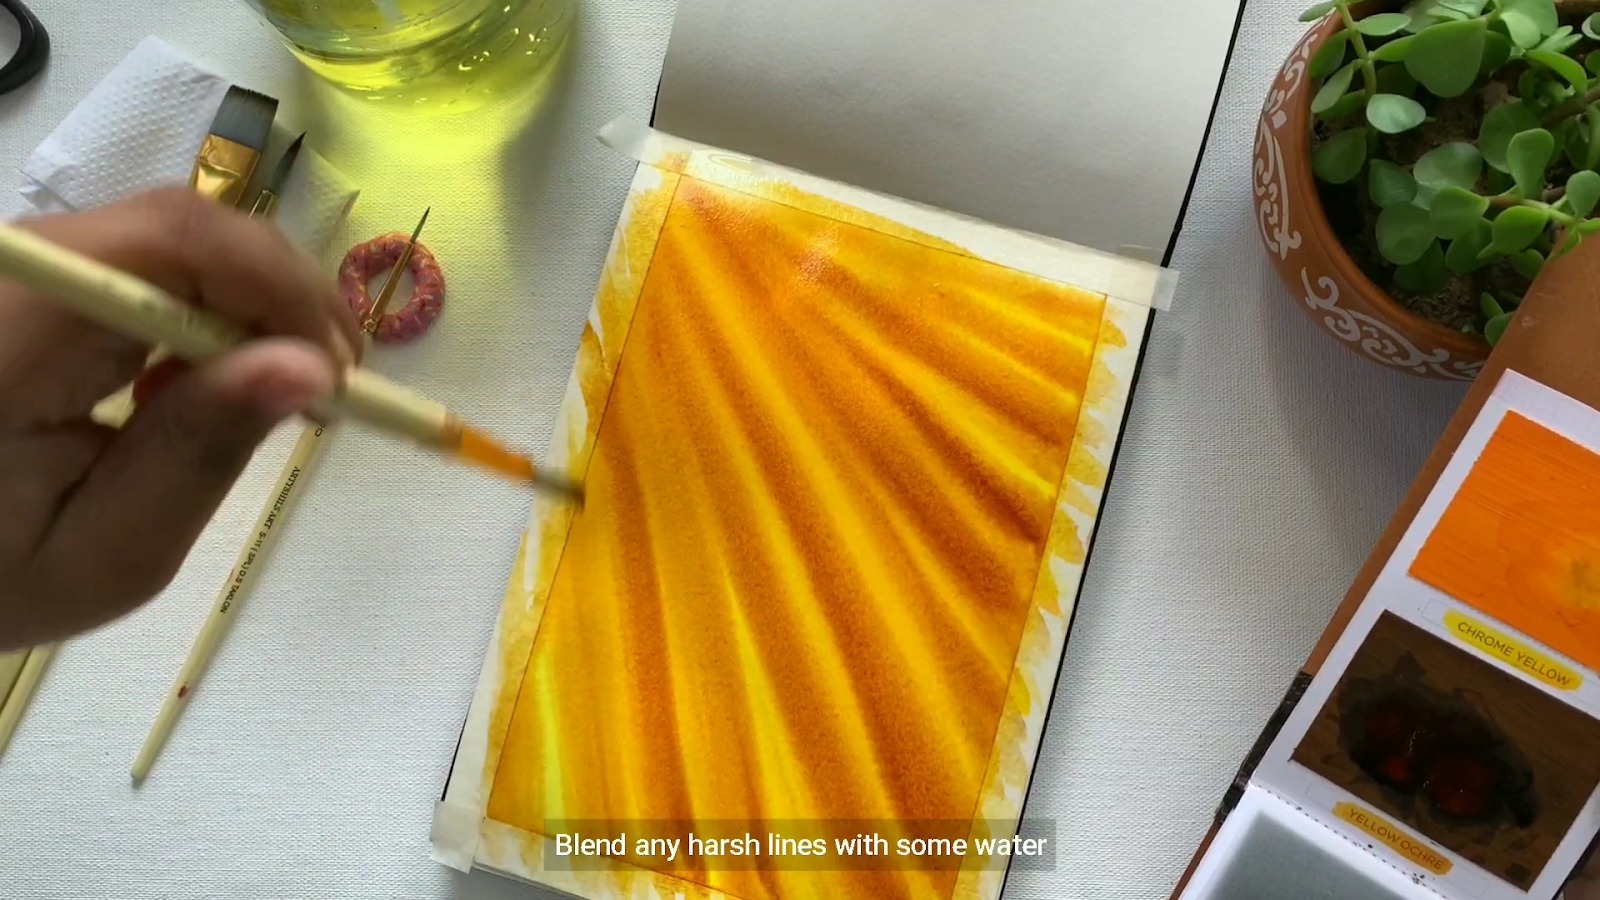
Now, add a slightly darker shade to the yellow rays. Make sure the paper is still wet and the dark shade is blending in evenly with the yellow throughout the paper. The idea here is to show sun rays in the forest scattered through the trees. If you find any harsh lines. Blend it by adding very little water.
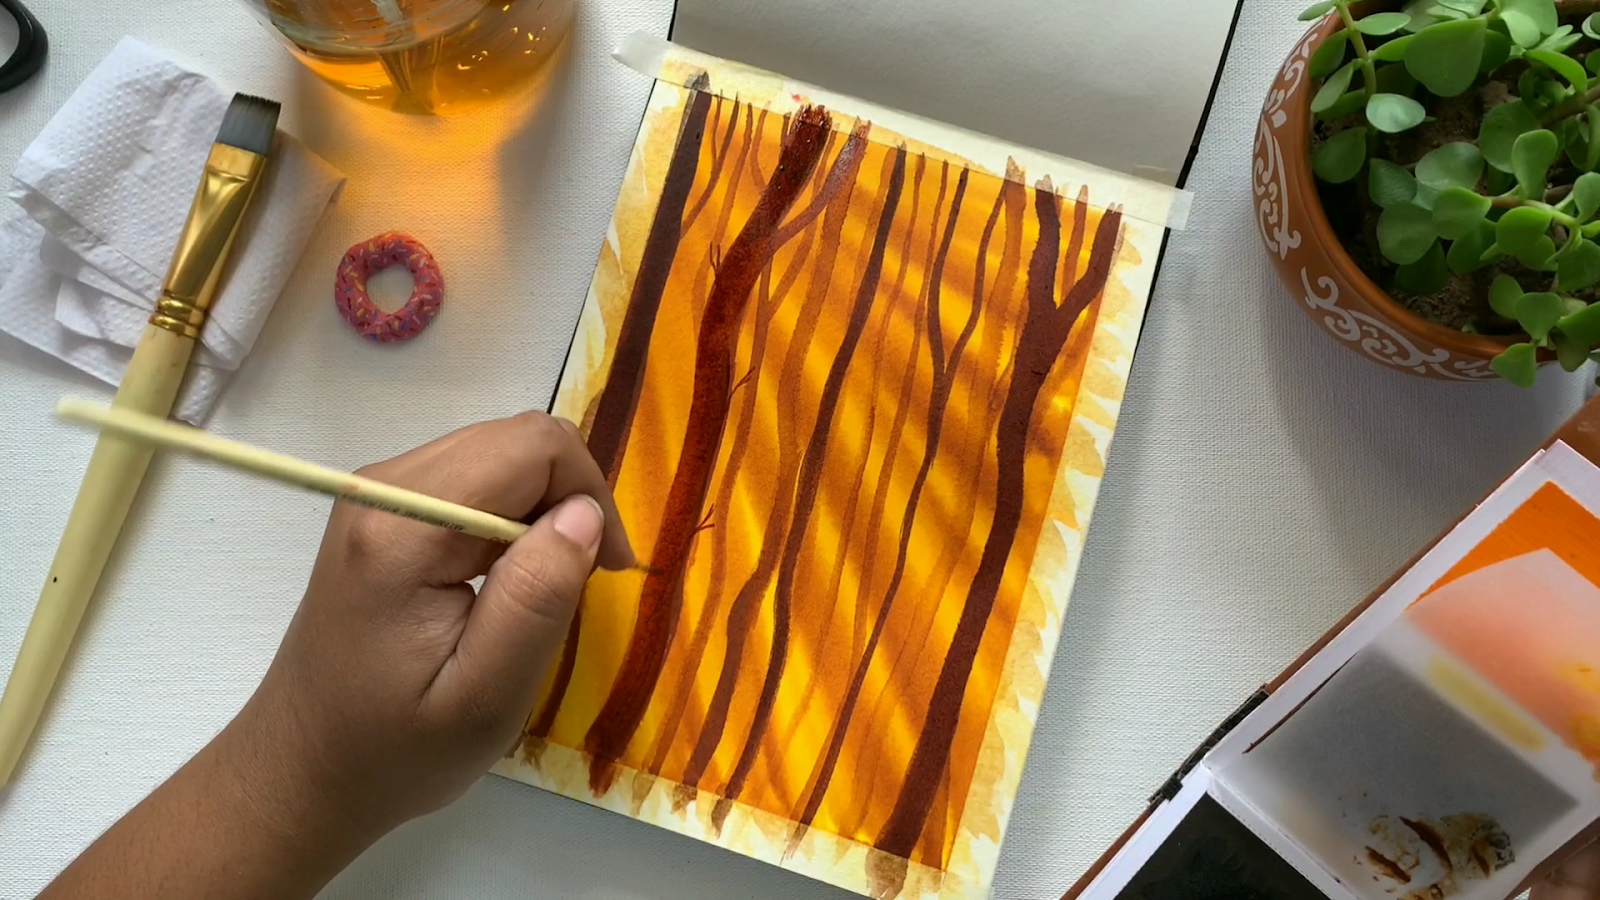
Step 4: Time to add some Trees!
I am using ‘yellow ochre’ to draw some random vertical lines for the tree barks. These trees will appear to look like ‘the far away trees’. Keep them very organic, no need to draw straight lines. Now take a darker shade like brown and some more trees.
Step 5: Layering & Detailing
Now take a darker shade like ‘brown/burnt umber’ and add some more trees. These will seem to appear in the front. This is a layering technique where you make a layer of paint, let it dry, and add another layer on top of it to have more depth to the painting.
Now, Let's make the bark of trees thick and dark. Add some branches and details if you like as well.
Step 6: Defining the Forest ground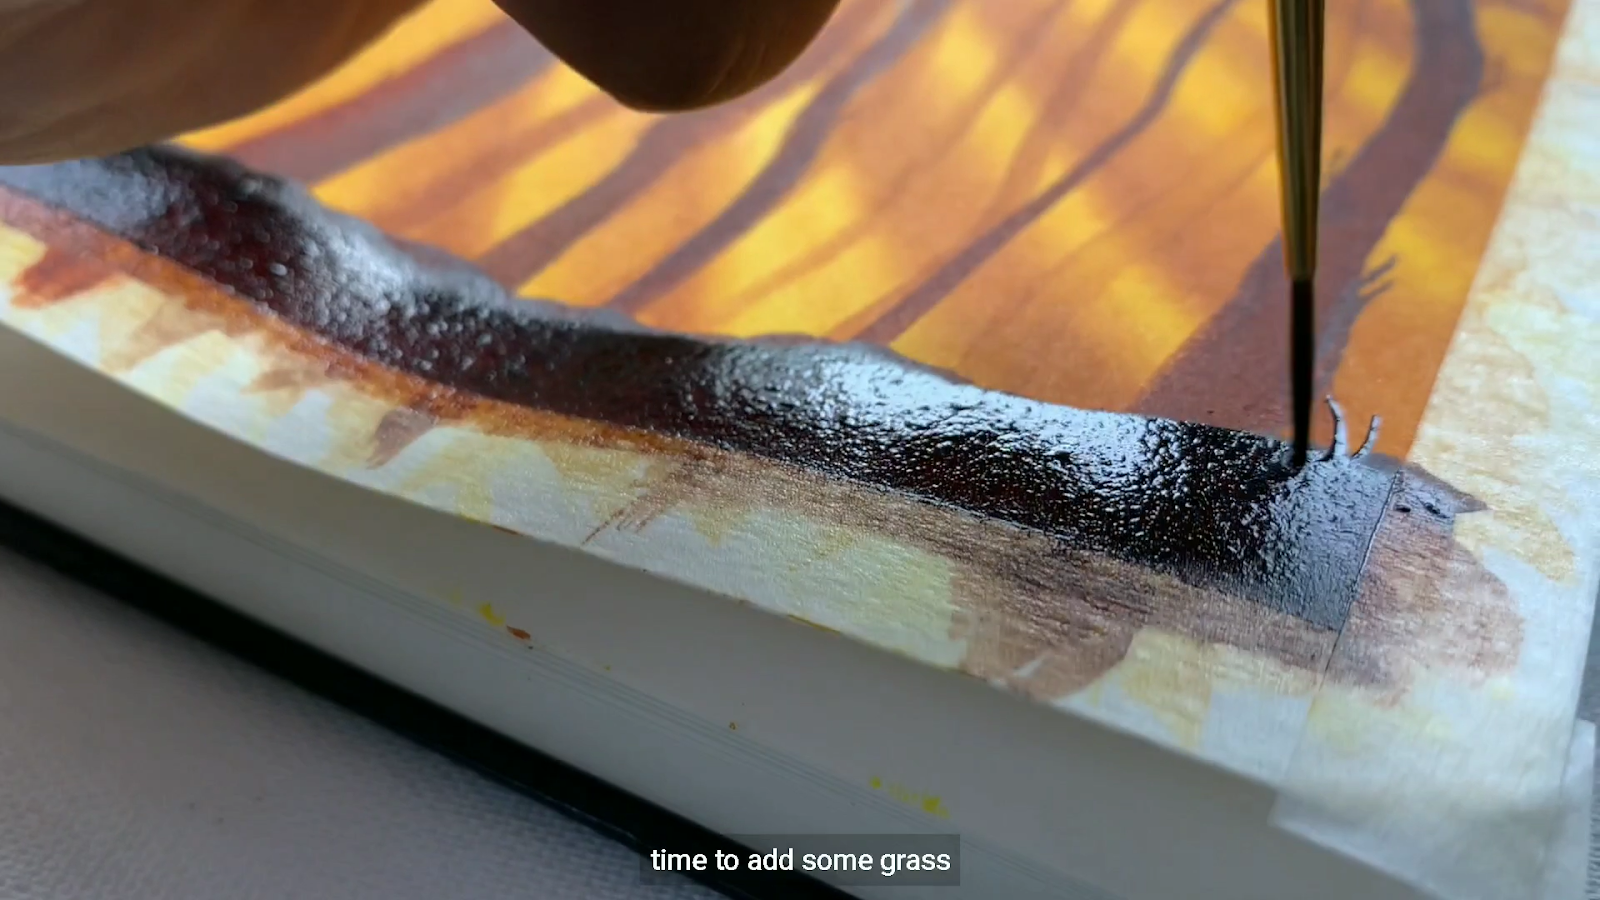
Now that you are done with detailing the trees, let's move on to making the forest ground. Simply make an uneven horizontal line and fill it with ‘burnt umber. Now start making some upward strokes that would very well look like grass. You can use your fine liner for this one. Tada!! You are almost done!
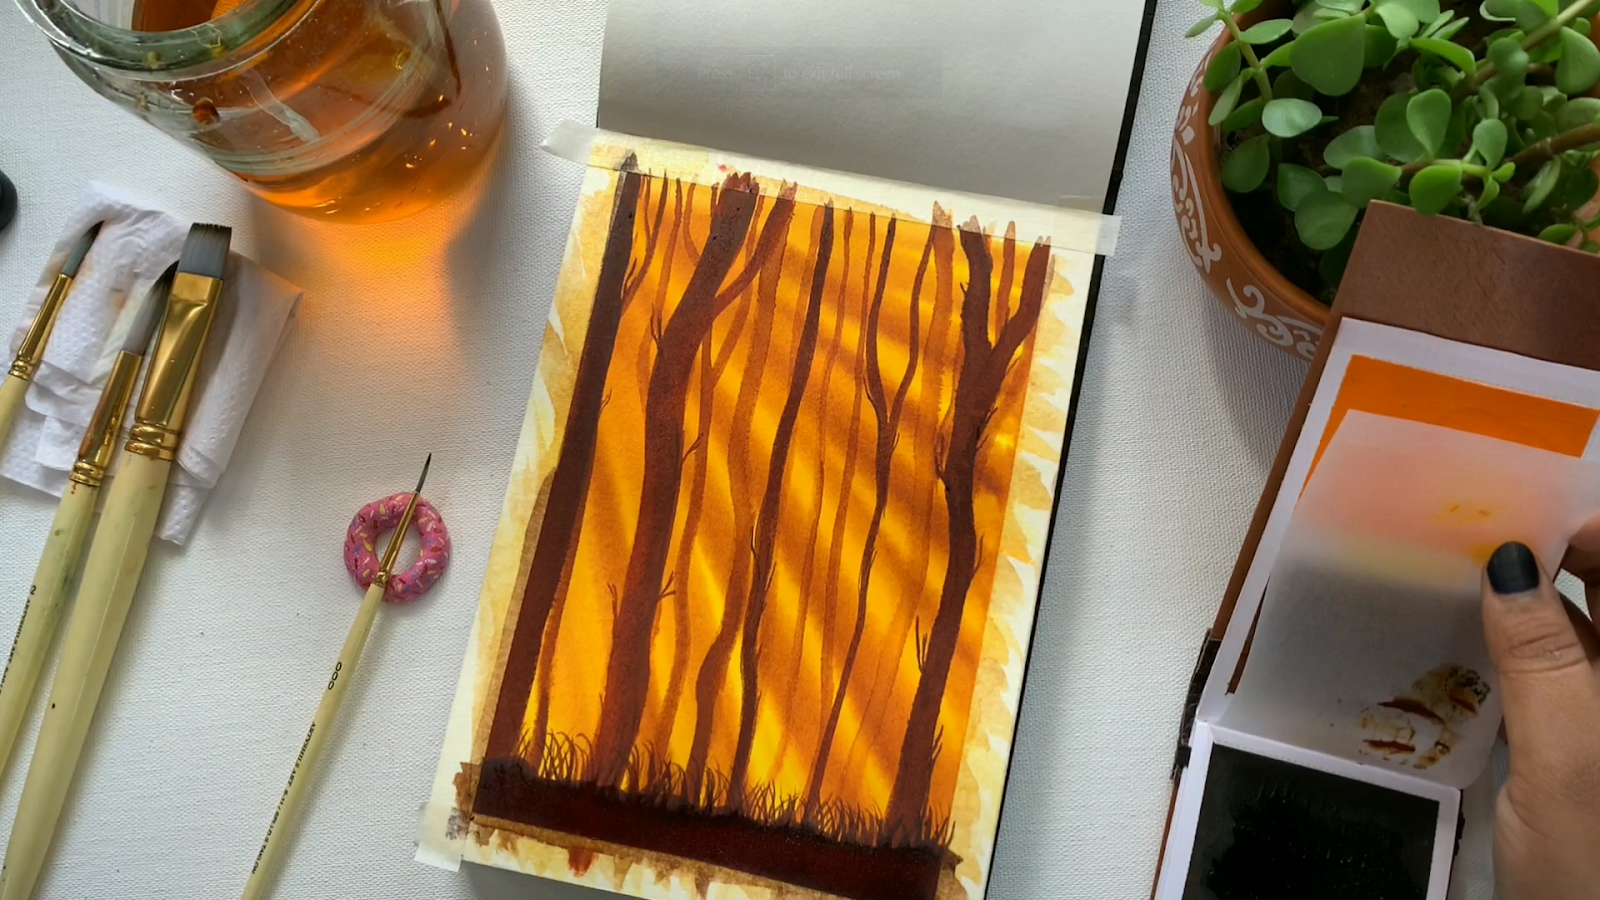
I love the way it has come out. Looks like a forest with the morning sun rays getting scattered through the trees.
Step 7: The best part of the painting - Tape Peeling!
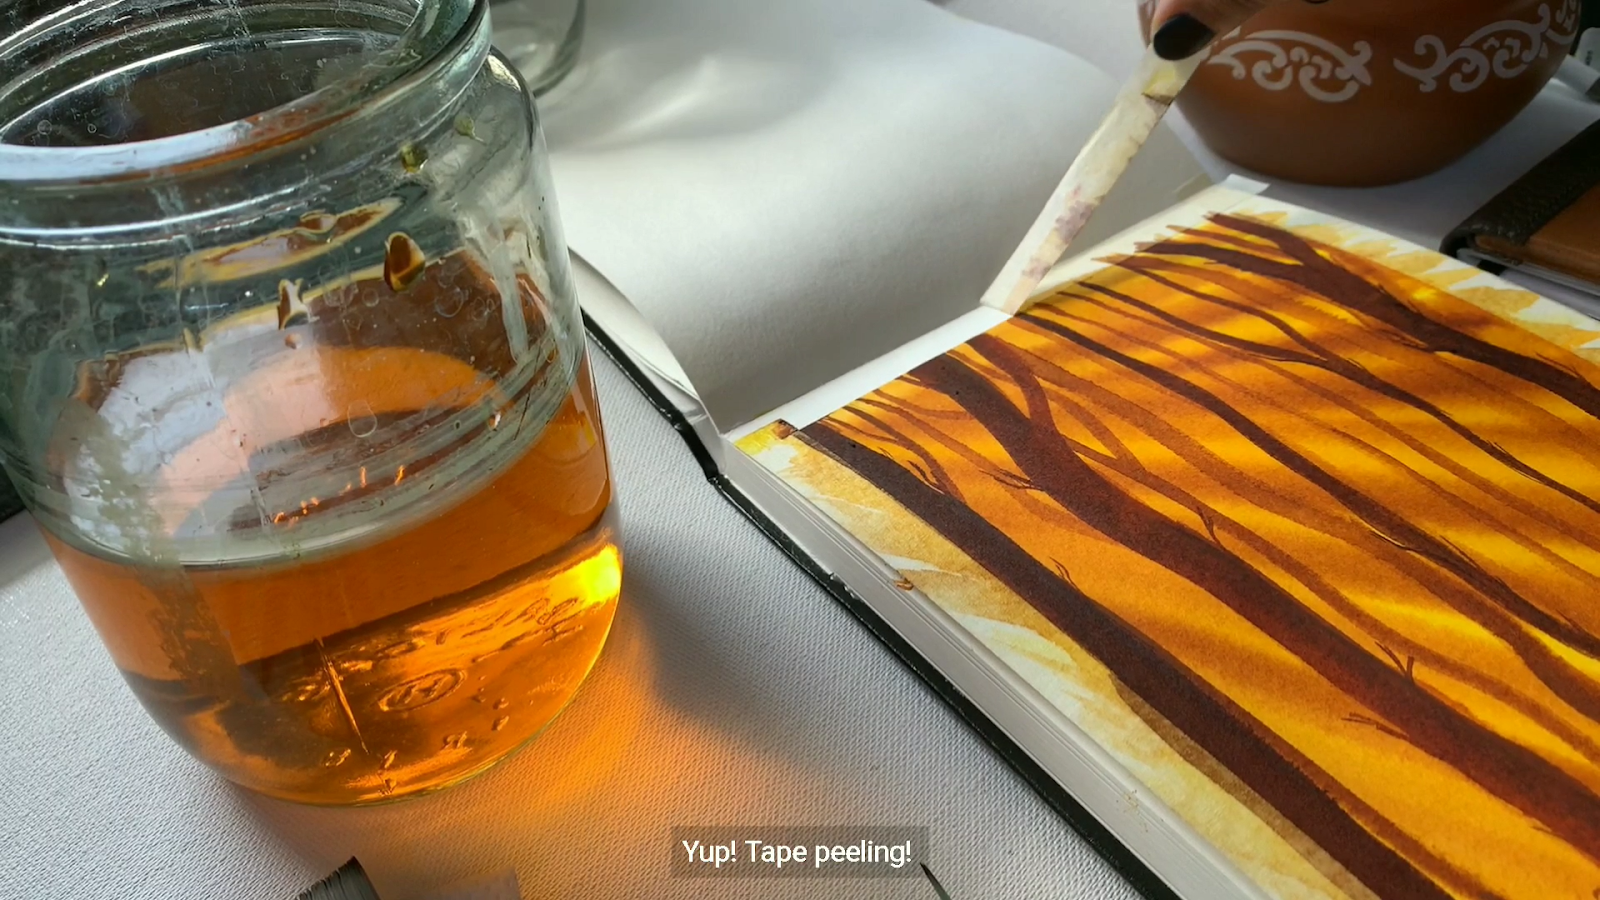
Here comes the best of making any painting, Tape Peeling!! Make sure you pull out the tape gently as sometimes your paper might tear.
This is how our final painting looks! I hope you enjoyed this quick and simple Forest watercolor video. Let's name this one “Rays of Hope.” Don't forget to share your results in the comment section


