Flower window painting for beginners
Windows with flowers have always been a fascinating subject to paint for me. The window panes, flowers, the stonework around it and the natural cracks on the wall draws me towards it and invite me to paint each time. Jazzing up the colors with an unexpected combo of cool and warm colors works like magic.
In this tutorial, I would share one such simple flower window painting that can be easily achieved by any beginner-level artist too!
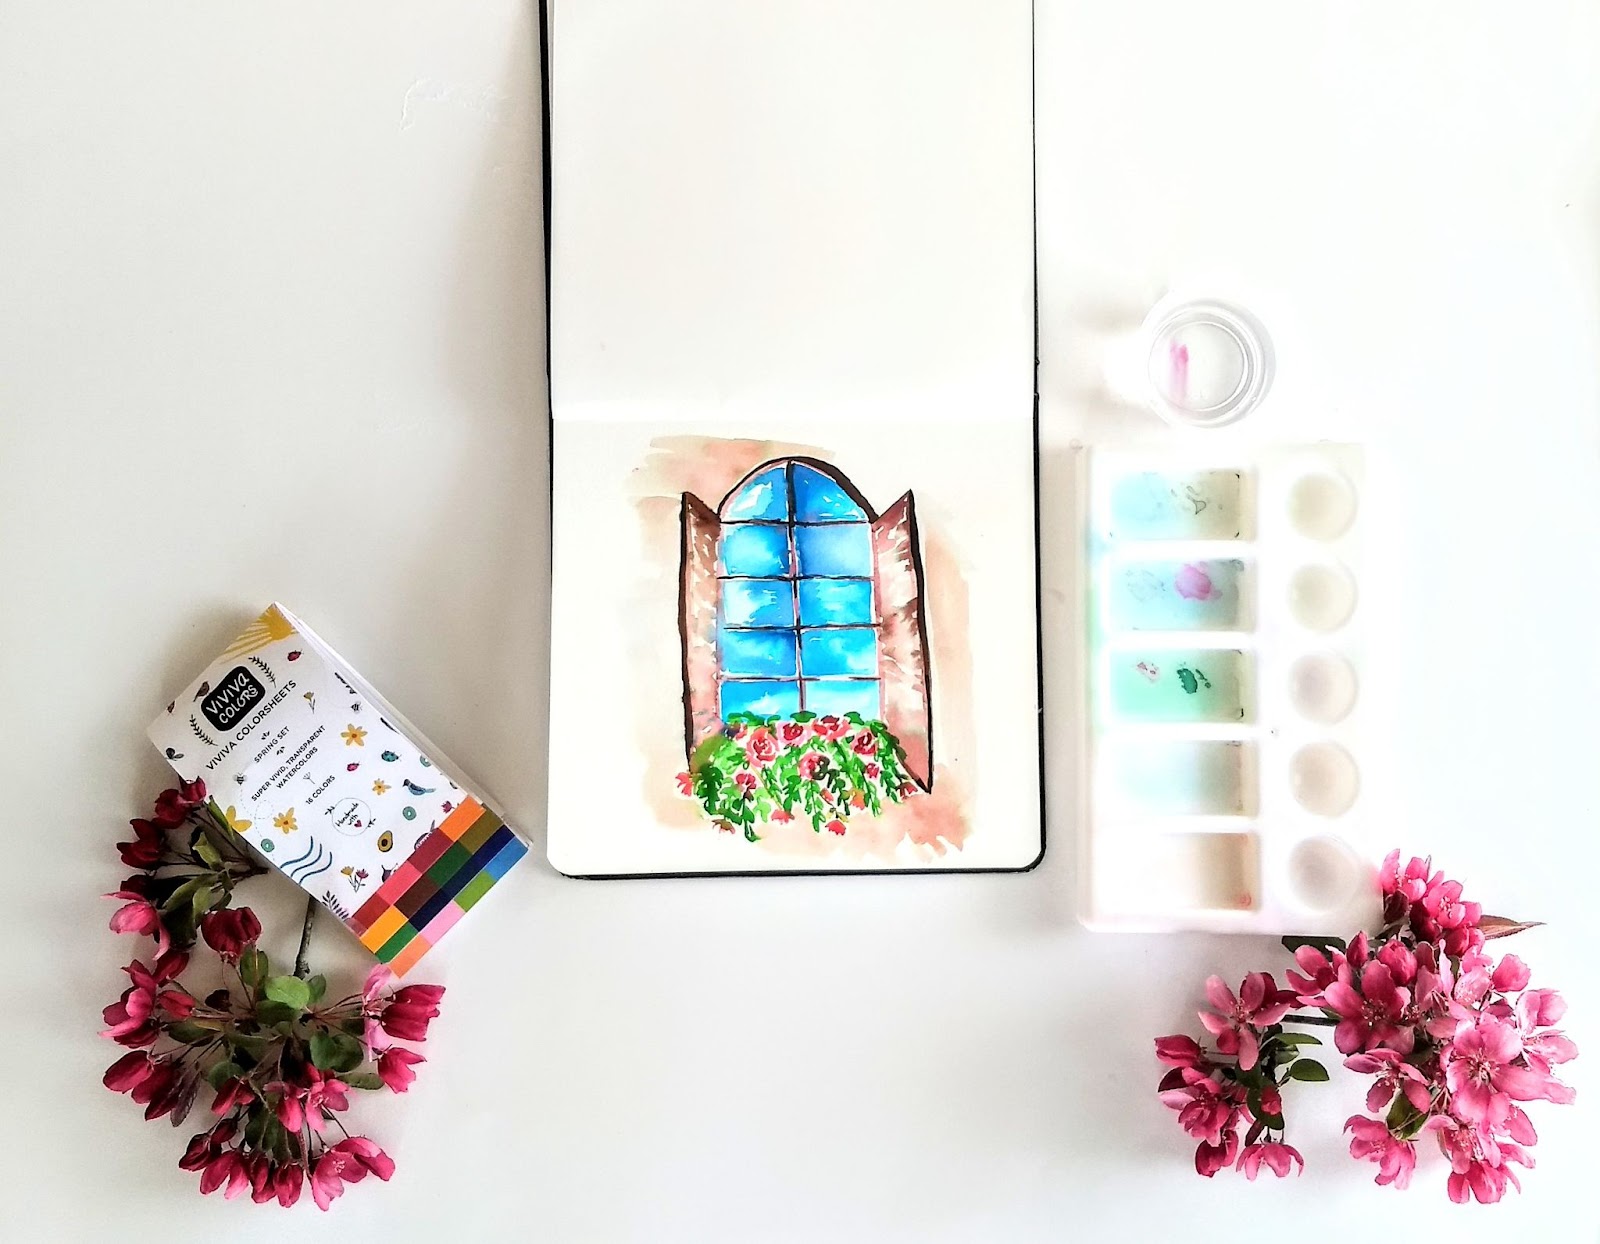
Follow this Step by Step Window With Flowers tutorial and create yourself a framable watercolor painting that can be hung in your art room
You can always substitute the supplies with ones you already have at home and the colors of your choice. Now without further ado let's make a floral window!
Step 1: Draw a rough sketch of a windowpane and give a base wash
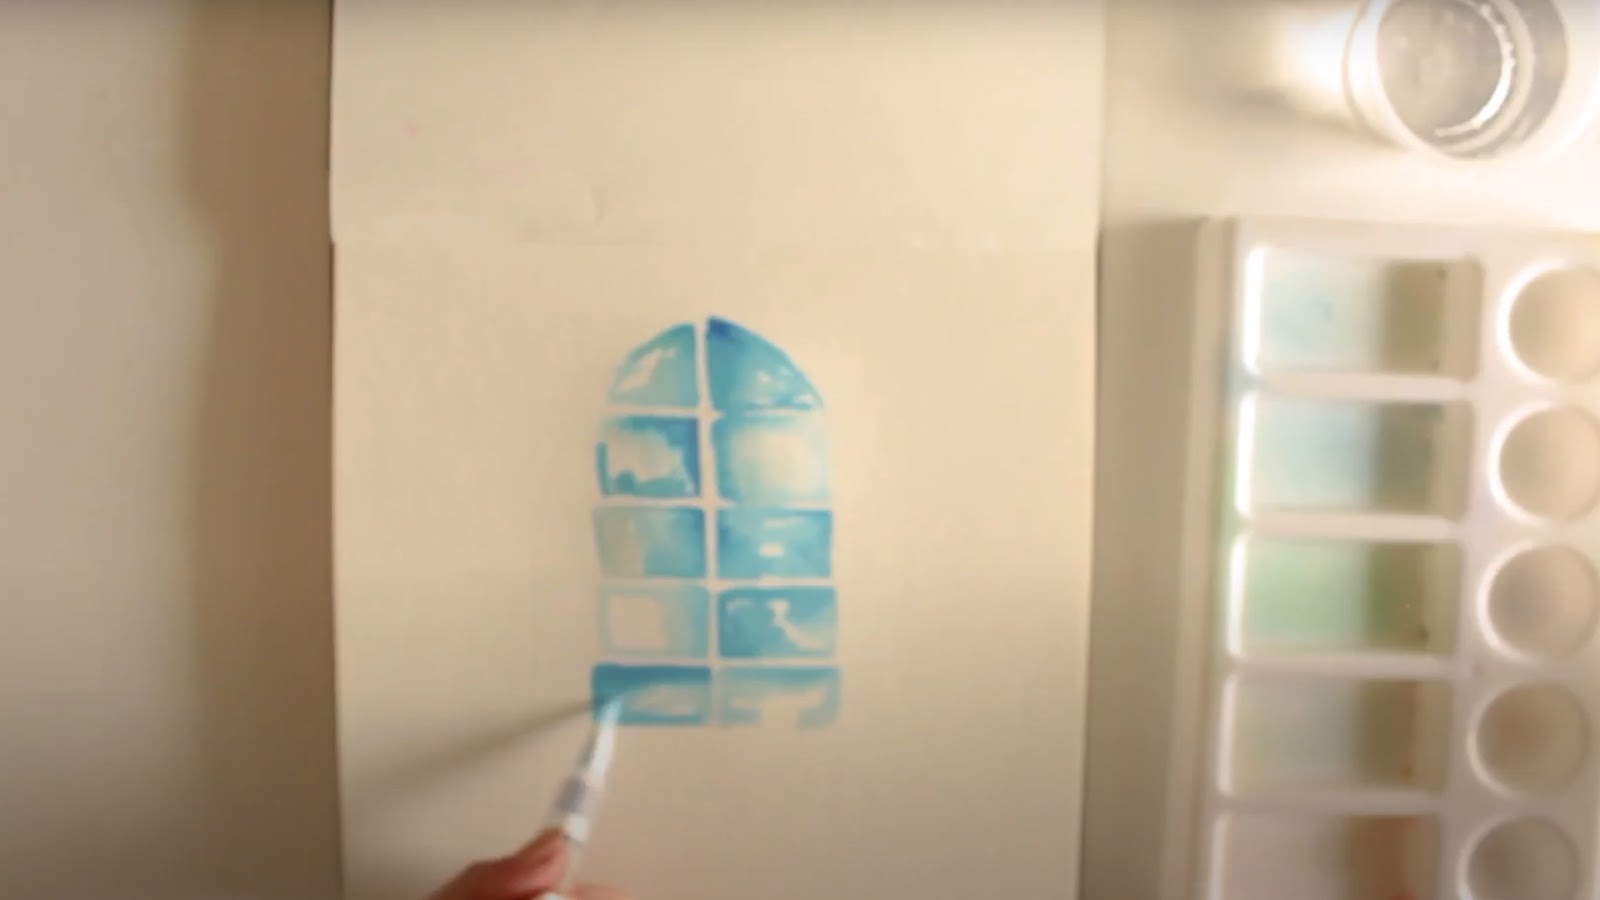
Draw a basic sketch of a window that you like. It can be a simple rectangle, square, round, anything. I have made it a little European style here, having a dome-like shape on the top.
Divide the window into 2 columns and 4-5 rows (as shown in the above image). Once you are done with the pencil sketch, erase it slightly to make the pencil marks visible enough as a guide for you but light enough to be hidden under your watercolor paints.
Now, give it a very light blue wash - I have used ‘Metallic Sky Blue’. Make sure to loosely cover the area leaving some white portions intact (these are great to show the highlights). You can make the borders of the rectangles with concentrated color and blend them throughout the area you want to cover.

Now to add in some depth and shadows, I have used midnight blue. Just drag the paints from the edges to the bottom and add some water to get some nice blending. If there are any water puddles on your paper just dab it with a clean dry paper towel.
Step 2: Making the Window Shutters
Use any brown color (I have used ‘tree bark brown’) and draw a slight border around the window first. Then Drag 2 Trapezium-like shaped doors, appearing to look as if they are open. Do not worry so much about the perspective drawing here, let’s keep it fun!

Now loosely paint the inner side of the doors with the same color. Remember to keep some white patches as shown above.
Step 3: Adding ‘Florals to the window’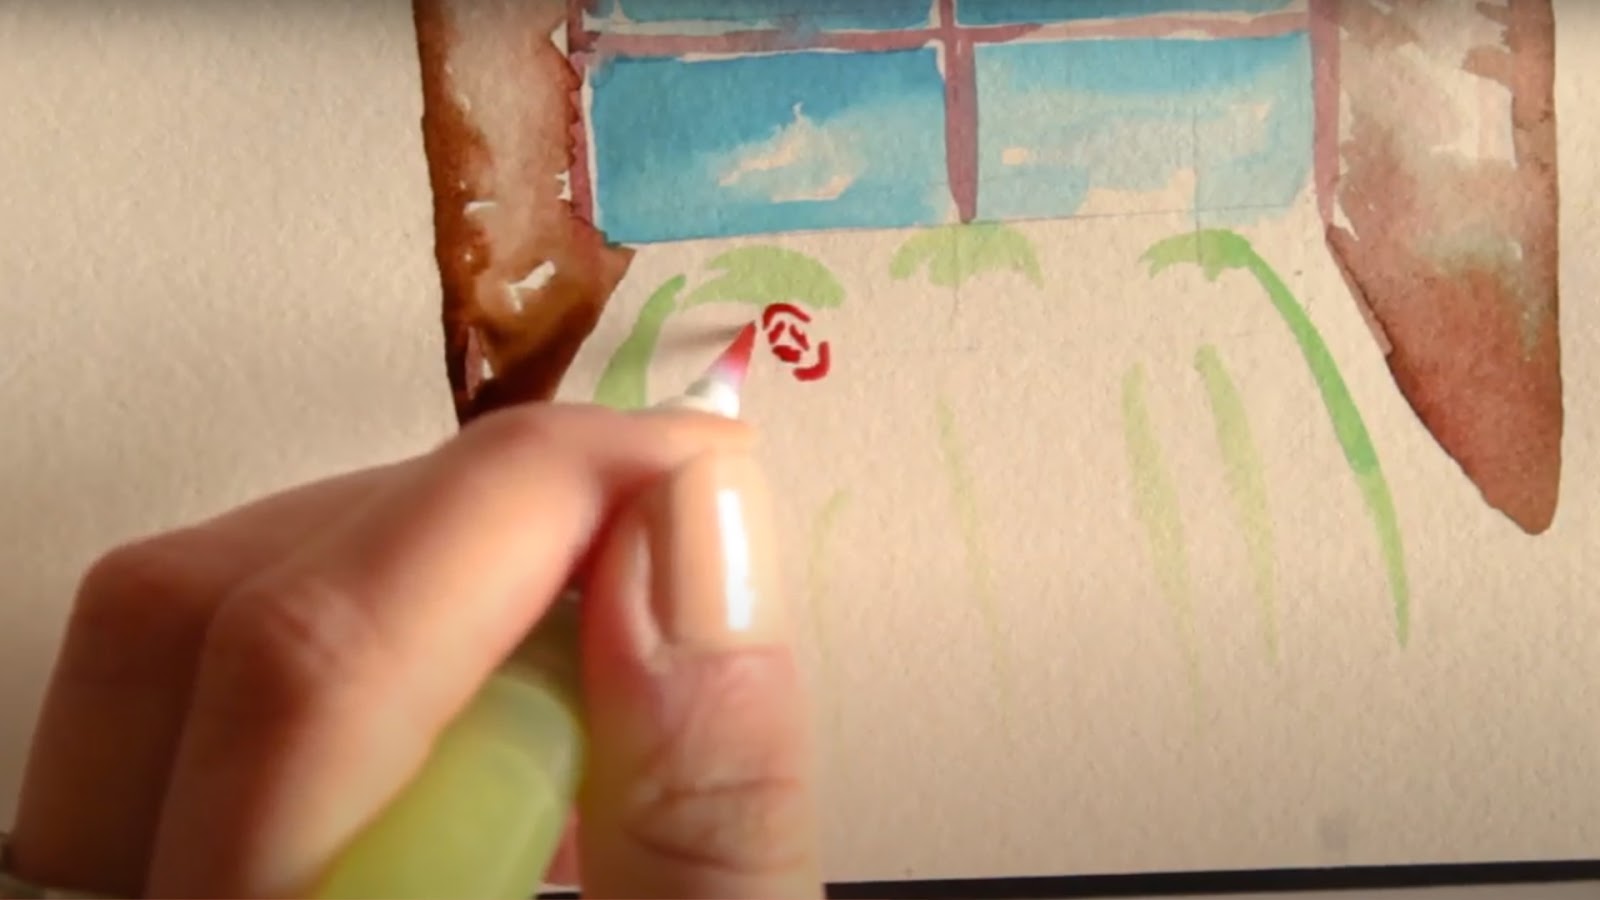
Now that your window is done let’s move on to the floral part. Make loose strokes dropping down the window with a lemongrass green (or any other shade of green).
For the roses, load your brush with a red/pink shade (I have used a ‘cherry blossom’ color) and start making ‘C’ shapes like petals in a spiral. Keep making multiple layers until you are satisfied. In the same way, make small and big roses with different shades of red and pink all over till the window look nice and full of flowers.
Time to make some leaves. I have used olive, lemongrass, and forest green to show a good range of combinations. This also helps to add some depth to it. Make small and big leaves as you like and fill the white portion of the paper with the range of greens you have.
I absolutely love how it's coming out to be. What about you?
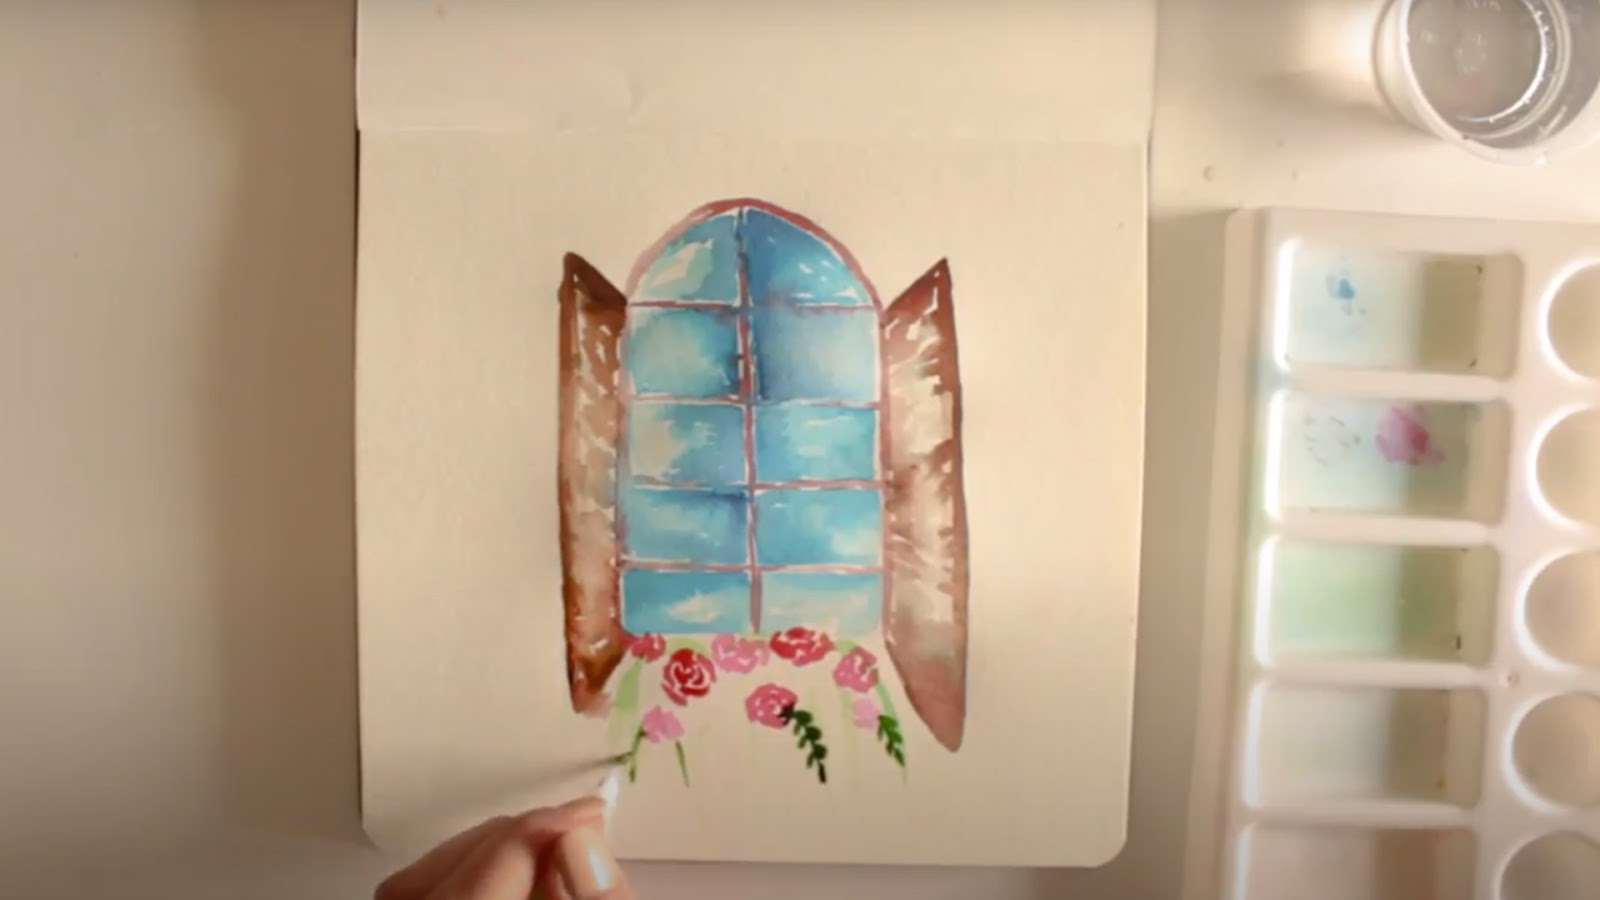
Step 4: Let's add some shadows and depth to the painting.
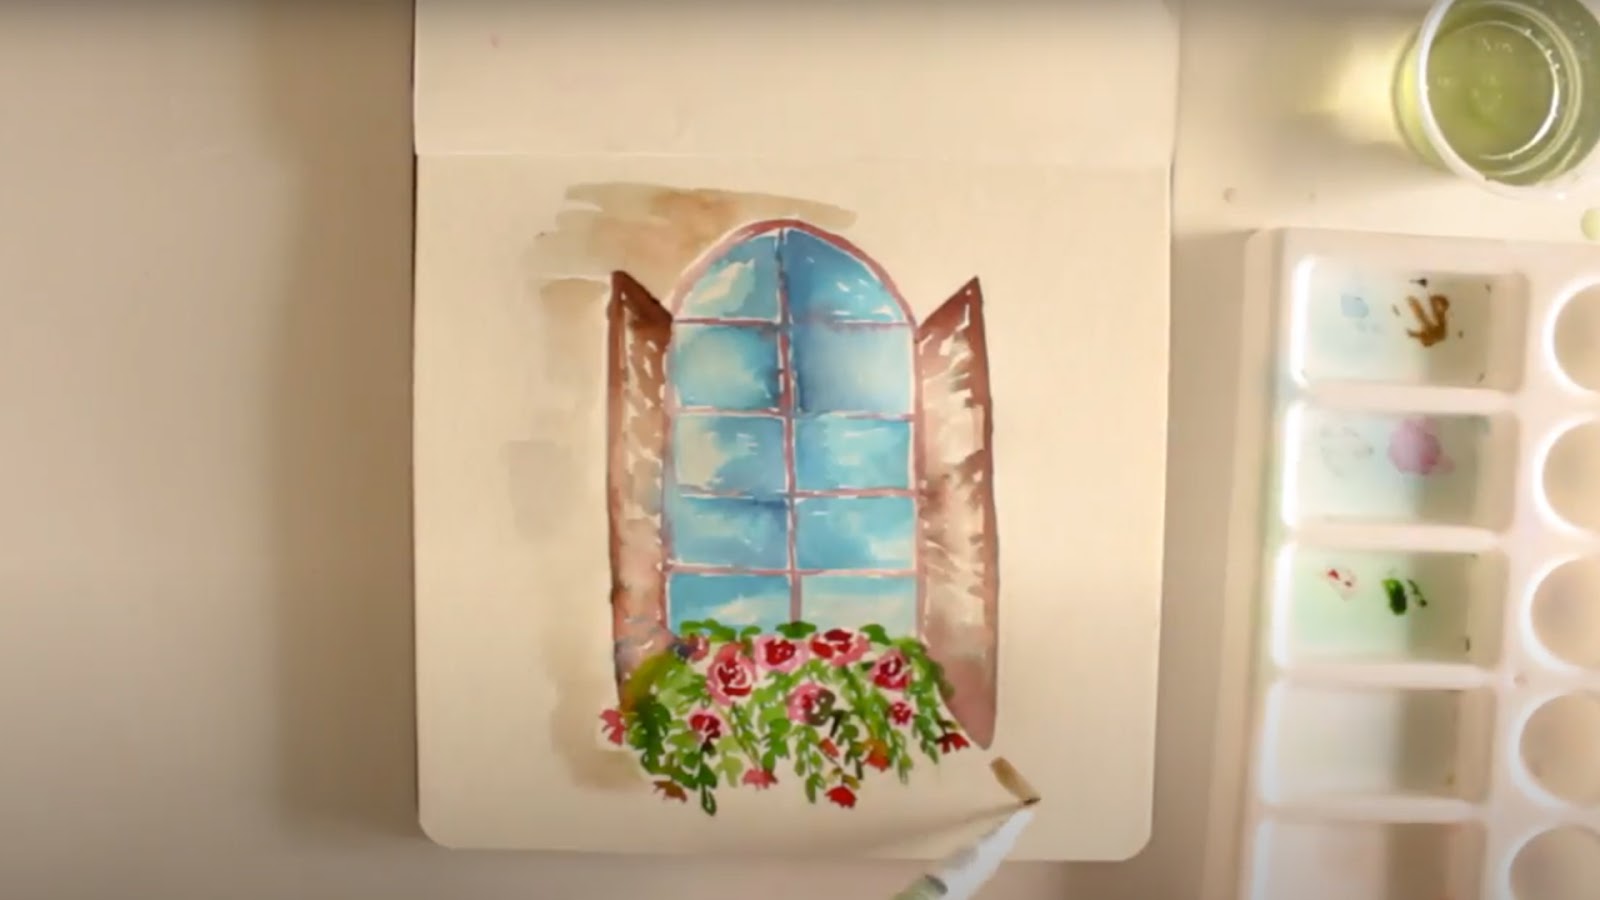
I have added some shadows to the left side of the window with a light brown shade. Keep the water consistency slightly high, as you don't want the shadows to be too dark. Dark shadows can take away the attention from the painting. Keep it light and simple.

A little darker brown wash at the bottom side of the window for it to have a good depth against the wall. AMAZING! How colorful.
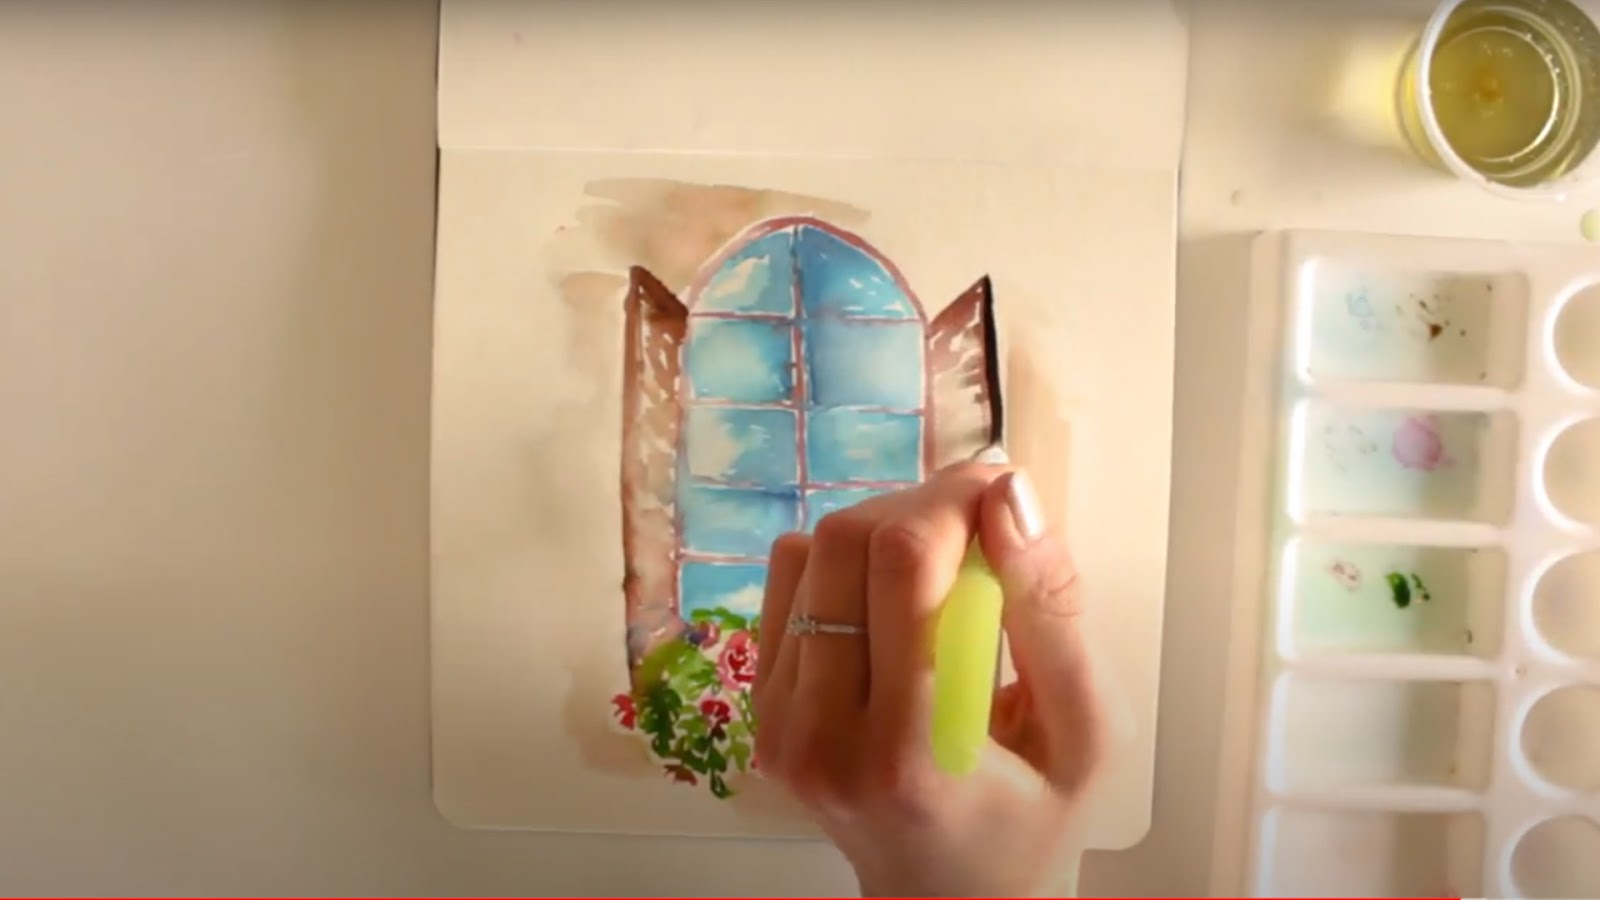
Now one last step of detailing - making dark-defined borders for the windows. I have used a thick ‘tree bark brown’ shade with less water, you can use a light black shade too.
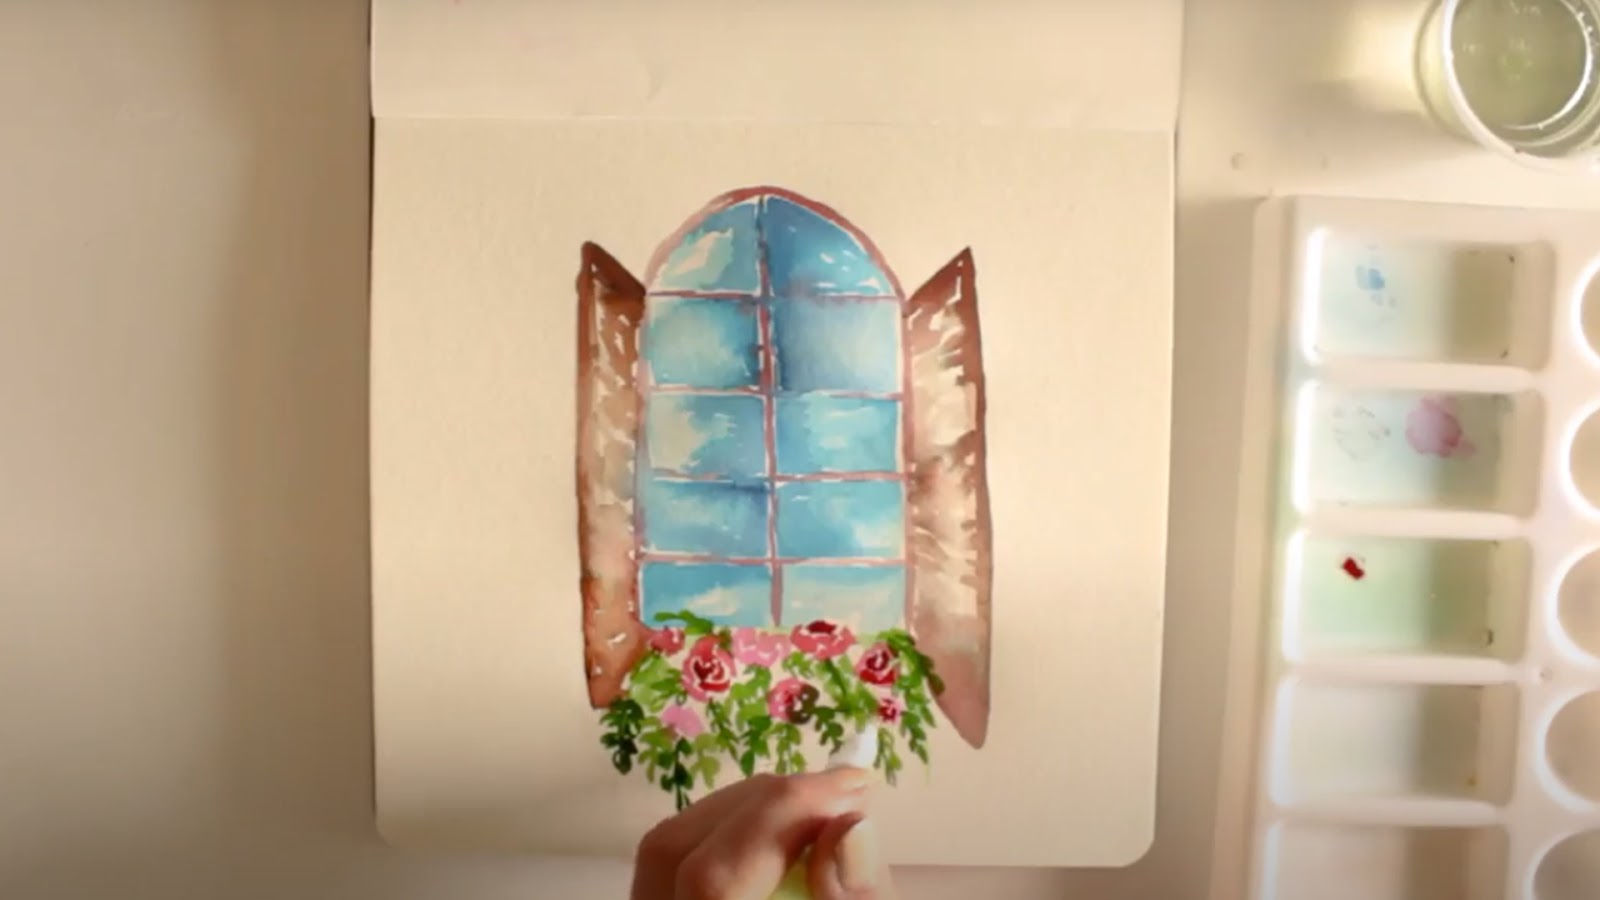
Tada! the painting is ready…
I really like how a bit of detailing can make the painting look so sharp and make it pop out so beautifully. I love the depth and color vibrancy of this one. The best part is that it's a quick painting session that will not take you more than 30-40min. You can make it while taking some break from work or simply in your me-time.
If you liked this painting tutorial, I am sure you will love these too:
Cherry Blossom Landscape - A quick step by step watercolor painting
Dawn in the Woods - Watercolor Tutorial


